Hairlines & Edges
The Princess of Wales’ high ponytail: a softer way to wear it
Catherine’s swept-back style makes the case for crown height and a softer hairline, with practical lessons for curls, shorter layers and visible roots.

By Sophie Clarke, Editor
Published · 6 min read
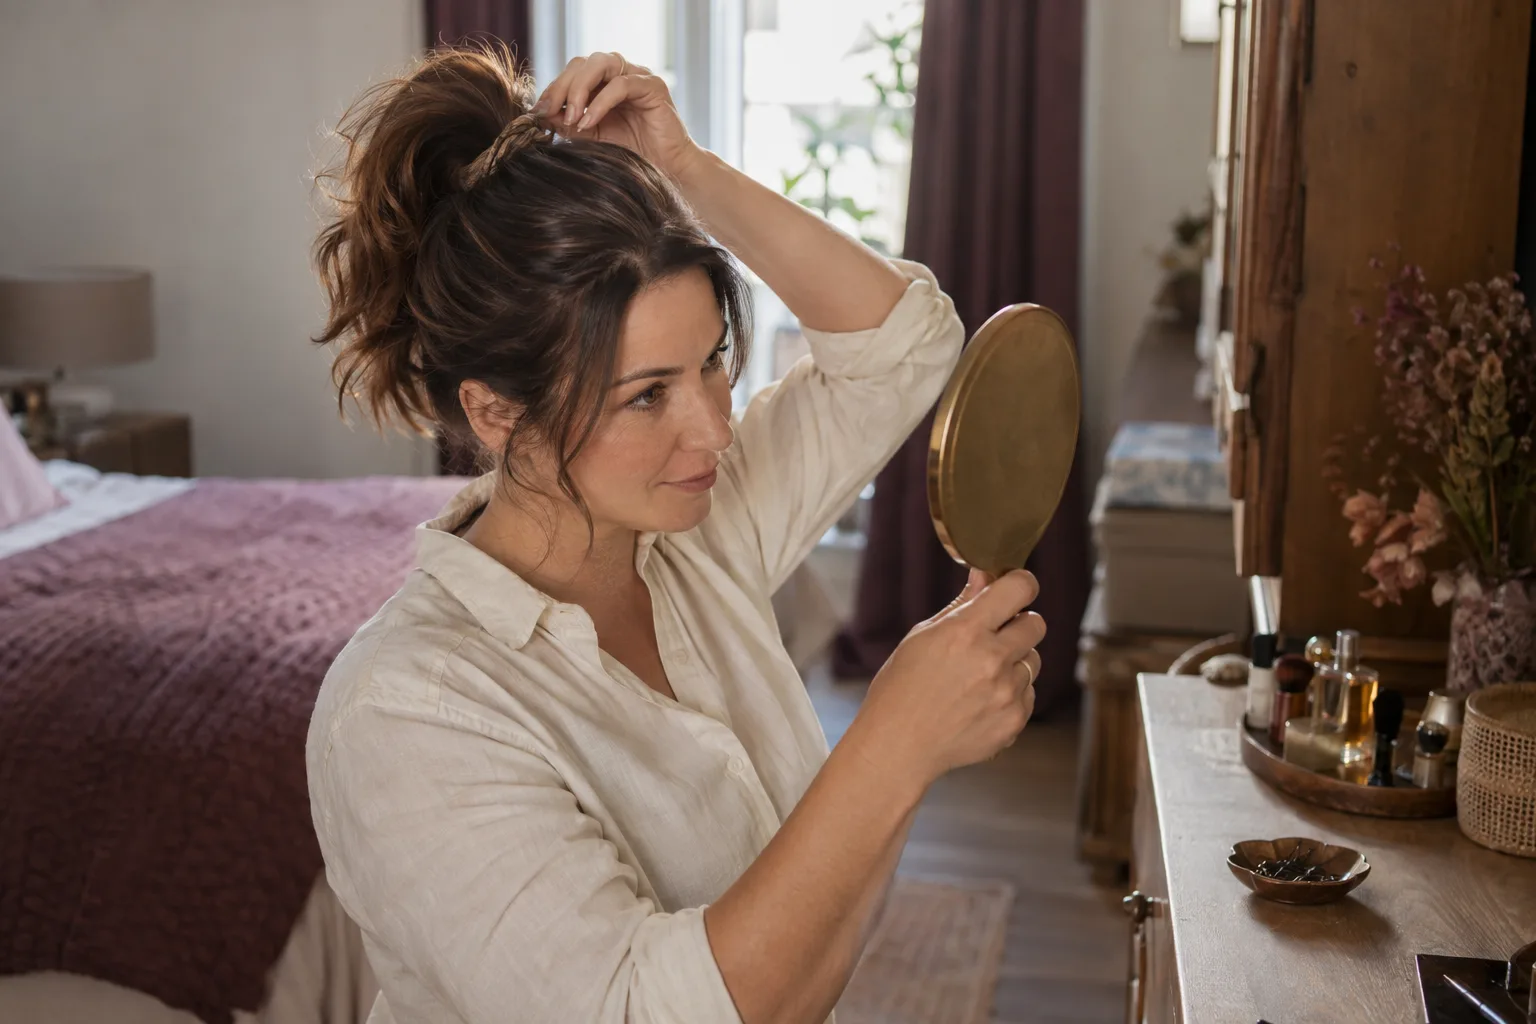
Quick answerTo recreate the Princess of Wales’ high ponytail, keep a little height at the crown, gather the hair high and leave movement through the lengths. Smooth the hairline lightly rather than pulling every strand flat.
The Princess of Wales wore her brunette hair in a high ponytail for a visit to the volunteer-run West Sussex Minibus service at Pulborough Village Hall on 30 September 2026. With lift above the forehead and waves falling from the fastening, the look offered an alternative to a completely flat, tightly brushed updo.
For our Hairlines & Edges edit, the detail worth borrowing is the balance: a controlled outline without removing all the softness around it. We rate this approach because the finish does not depend on making every short hair disappear. It also puts a useful styling question centre stage: what happens to your hairline and colour when you sweep everything back?
What happened
Catherine’s ponytail sat high on her head, with volume through the crown and movement in the lengths. Those are separate components: the position of the elastic determines where the tail begins, while the shape above it determines how flat or lifted the style looks from the front.
That distinction matters when recreating it. Simply moving a tightly brushed ponytail higher will not produce the same crown shape. Before fastening, look at the outline in profile and decide where you want the height, rather than concentrating only on getting the elastic in place.
The waves supplied another visual effect. A curved strand occupies more space than one hanging straight, so movement can make the tail appear more substantial without adding any hair. It is a styling illusion, not a change in the amount of hair you have.
Brunette colour also looks different when the lengths are gathered rather than spread across the shoulders: lighter pieces may sit together, creating more obvious ribbons. Our guide to two brunette wave looks to take to the salon offers another way to think about the relationship between colour placement and movement.
The background
A high ponytail changes what you see
Brushing hair away from the face exposes the temples and front roots, while brushing across a usual parting can make that particular line less visible. Neither result is automatically better. Check the front and both sides before deciding whether any colour touch-up is needed; the area you normally cover might not be the area on show.
Grey roots are entirely compatible with this style. Leaving them visible gives a different colour pattern from concealing them, not an unfinished hairstyle. If you do want temporary coverage, choose a shade that blends with the roots you are trying to match rather than automatically reaching for the darkest colour in your lengths.
Root powder generally offers more localised placement with its applicator; a spray can cover a broader area, depending on the nozzle and formula. Follow the product’s instructions and use it only on the areas for which it is intended. Neither category creates the physical lift seen at the crown.
Length sets the limits
A ponytail needs enough length for the relevant sections to reach its fastening. Shorter pieces at the nape may reach a lower position but slip out of a higher one. Test the position with your hand first: it is more useful than repeatedly brushing and tying a shape your current cut cannot comfortably support.
Layers affect the outline too. A shorter front section might work better left loose than stretched back and pinned into submission. If wearing your hair up is a priority, discuss that before a cut; our guide to choosing a bob by its shape explains why the practical silhouette matters more than the haircut’s name.
Texture changes the tools you need. Brushing through dry curls can separate their definition, so fingers or an appropriate detangling tool may make more sense than repeated passes with a smoothing brush. There is no requirement to straighten the lengths before gathering them.
What people are saying
Hairstylist Adam Reed’s advice for recreating the look focuses on a tidy fastening, a section of hair wrapped around the elastic and a little finishing oil through the lengths. The useful distinction is where each finishing step belongs: securing the base and adding shine to the tail are different jobs.
Our take is to treat the shine step sparingly. Start with a small amount of a suitable finishing product at the ends, then assess before adding more. Spreading a rich formula straight over the crown can make the carefully arranged lift look flatter or separate the surface into conspicuous sections.
Stylist Elliot Bute recommends adapting the proportions to the hair itself. His guidance favours crown volume with a smaller ponytail for finer or shorter hair, a smoother root area with moving lengths for thicker or longer hair, and retained natural texture for curls.
That is a more useful brief than asking every hair type to reproduce an identical outline. For a salon appointment, specify the finish you want at the temples, whether a parting should remain and how much texture you want preserved. The same principle runs through our questions to ask before booking goddess braids: agree the details of the finished style before work begins.
What happens next
Build the shape before polishing it
Start by gently detangling as appropriate for your texture. If you plan to use heat to add waves, use heat protection according to its directions and follow your tool’s guidance. Existing waves or curls can provide the movement without another heated styling step.
Gather the hair with your hands at the proposed height. Keep hold of it while using a mirror to check the side view, then adjust the surface lightly. Brush only the areas you want smoother, rather than repeatedly compressing the entire crown. Leave deliberate softness where it suits the outline.
Secure with a covered hair elastic that holds without pulling uncomfortably. If the fastening slips, reassess its size and grip rather than assuming it needs another tight turn. A style that feels uncomfortable is not finished: release it and choose a looser hold or a different position.
For a concealed fastening, take a narrow section from the underside of the tail, wind it around the elastic and secure the end discreetly with a hairpin. This detail is optional. A visible, neat elastic is preferable to a bulky wrap that needs constant adjustment.
Finish the edges last
Once the ponytail is secure, decide which short hairs actually need smoothing. Use a small amount of a suitable styling cream or gel, following its directions, on selected areas rather than coating the whole hairline. Leaving some shorter strands visible can soften the boundary between the face and the updo.
If you want temporary root coverage, assess the final shape before applying it to clean, dry hair as directed. Some concealers need time to dry or set, and brushing or touching them afterwards can disturb the finish. Avoid assuming every formula resists transfer; check its instructions before putting on a pale collar.
Finally, check the back as well as the front. Look for an exposed pin, an uneven wrap or a section caught awkwardly under the elastic. Correct those specific details instead of starting again for the sake of one stray strand. The aim is a wearable ponytail with a considered shape, not an immovable shell.
Why this matters
For UK readers fitting styling around the commute, work or an evening out, this is a useful reminder to choose the ponytail position before adding products. Try gathering your hair at two heights and check which comfortably accommodates your layers; then decide whether you want roots visible or temporarily covered. At your next appointment, tell your hairdresser how often you wear your hair up. Our guide to choosing a haircut by its shape is a helpful starting point for that conversation.
Common questions
- How do I recreate the Princess of Wales’ high ponytail?
- Gather your hair high while keeping some lift at the crown and movement through the lengths. Secure comfortably, smooth selected flyaways and, if you like, wrap a small section of hair around the elastic.
- How do I make a high ponytail look fuller?
- Keep some height at the crown and movement in the tail. Waves and curls can create a broader-looking outline than straight lengths, while brushing the crown completely flat removes that visible lift.
- Can I do a high ponytail with short layers?
- Only if the sections you want tied back can reach the fastening comfortably. Test the position with your hand first; lowering it may accommodate shorter nape layers, while front pieces can be left loose.
- Do I need to straighten curly hair for a high ponytail?
- No, you can keep your natural curls. Gather the hair with tools suited to your texture and avoid repeatedly brushing dry curls if you want to preserve their definition.
- Is root powder or root spray better for a ponytail?
- Root powder generally suits precise placement, while spray can cover a wider area, depending on its nozzle and formula. Choose according to the roots exposed by your finished style and follow the product instructions.
- How do I hide the elastic in a high ponytail?
- Wrap a narrow section from underneath the ponytail around the elastic and secure the end discreetly with a hairpin. Keep the wrap small enough to avoid a bulky fastening.
- Should a high ponytail feel tight?
- It should feel secure, not uncomfortable. If it pulls, release it and adjust the hold or position rather than adding another tight turn of the elastic.
About the writer
Sophie ClarkeEditor · London
Sophie edits The Colour Edit and has a soft spot for a good gloss.
More from SophieSources
This article is original reporting by The Colour Edit based on the sources above. Last reviewed 9 October 2026. Product mentions are editorial unless clearly marked as sponsored.